Soldering Tiny Whoop Motors Without Lifting a Pad (Step-by-Step)
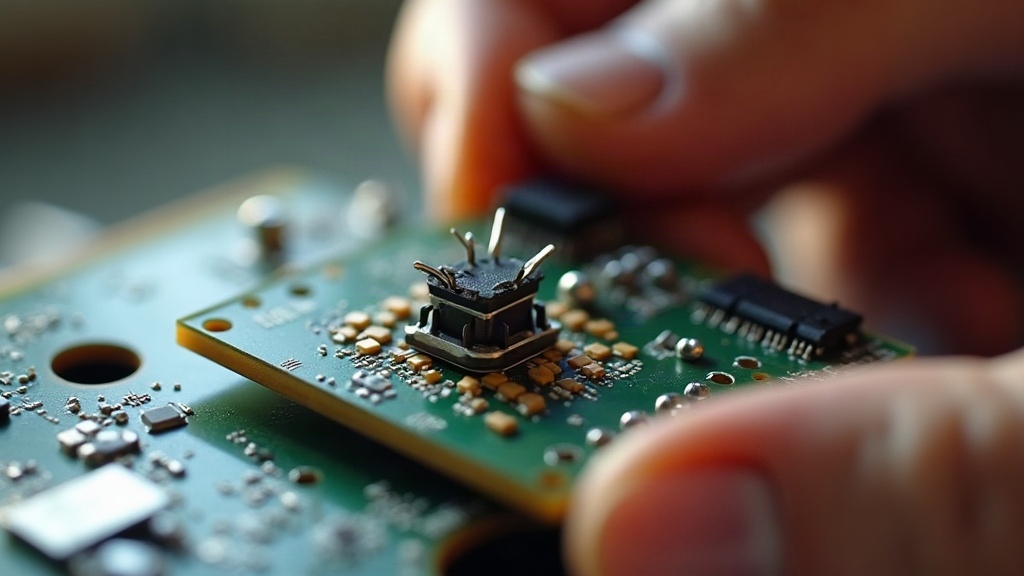
Soldering Tiny Whoop Motors Without Lifting a Pad
Tiny Whoop solder pads are small, thin, and completely unforgiving. Hold the iron on one a beat too long, or give a stiff motor wire one hard tug, and the copper tears right off the board. What should’ve been a two-minute fix suddenly turns into a board replacement. Here’s the good news, though: lifted pads are almost always preventable. Control your heat, pre-tin everything before you touch the final joint, brace the wire mechanically, and move fast. Do that and you can swap motors or re-solder a snapped wire all day without ever damaging the flight controller. Below is the full process, step by step, built around keeping that copper right where it belongs.
Why Tiny Whoop Pads Lift So Easily
Knowing why pads fail in the first place makes it a lot easier to stop it from happening.
- Thin copper traces. Whoop boards (65mm and 75mm frames) run on featherweight 0.6mm–1.0mm PCBs with traces about as thick as a hair. They can’t dump heat quickly, so they peel under stress instead.
- Too much heat, too much dwell time. Anything above 400°C, or a tip sitting on a pad for more than 2-3 seconds, starts softening the adhesive that glues copper to fiberglass.
- Mechanical strain. Motor wires are short and stiff by nature. Twist the board, or yank on a wire while the solder’s still solid, and you’re putting direct load on the pad.
- Bad enamel prep. Scraping too aggressively, or using a flame to strip enamel off the wire, can oxidize or nick the thin strand underneath. That forces you to reheat the same joint over and over, which is exactly what you don’t want.
Tools and Materials You Actually Need
A clean, pad-safe repair starts before the iron ever touches the board.
- A temperature-controlled iron with a fine conical or chisel tip (1mm or smaller). Honestly, a cheap fixed-temp 40W iron is probably the single biggest cause of lifted pads out there.
- 63/37 or 60/40 rosin-core solder, 0.5mm–0.8mm thick. Thin solder melts almost instantly and gives you real control.
- Liquid or paste flux (no-clean or rosin, either works). If you buy one thing to save your pads, make it this.
- Solder wick and/or a solder sucker for cleaning off old joints.
- Helping hands or a small vice, plus tweezers and flush cutters.
- Isopropyl alcohol and a soft brush for cleanup afterward.
Step 1: Set a Safe Iron Temperature
For whoop boards, 320°C-350°C (roughly 610°F-660°F) is the sweet spot.
- Go too cold (under 300°C) and you’ll end up holding the tip longer to get solder flowing. That dwell time, not raw heat, is what actually lifts pads.
- Go too hot (over 380°C) and you scorch the board while weakening the copper bond underneath.
- Use the lowest temp that still gives you a fast, shiny joint. If solder isn’t flowing within 2 seconds, bump the temp up by 10°C at a time. Don’t just press harder.
Step 2: Pre-Tin the Iron Tip (and Keep It Clean)
A dirty tip conducts heat poorly, and a poorly conducting tip means you linger on the pad longer than you should.
- Wipe the hot tip on a damp sponge or brass wool.
- Apply a small amount of solder to the tip so it looks bright and “wet.”
- Re-wipe and re-tin before every single joint. A shiny tip is genuinely the difference between a 1-second connection and a 5-second pad-killer.
Step 3: Prep the Motor Wires Properly
Most whoop motor wires are enamel-coated magnet wire hiding under a layer of silicone insulation.
- Use heat or a blade, never brute force. Lightly scuff the enamel with fine sandpaper, or dip the wire tip into a small blob of solder with flux on it. The heat burns off the enamel while the flux scrubs the copper clean.
- Pre-tin the wire end. Strip back about 3-5mm, coat the bare tip in flux, then flow solder onto it. When you’re done it should look silver and solid, not fuzzy, not black.
- Cut clean, never frayed. Any bent or kinked strand gets snipped back to fresh wire before you tin it.
Step 4: Pre-Tin the Pad (the Pad-Saver Step)
Honestly, this one step prevents about 90% of lifted pads. Don’t skip it.
- Drop a small amount of flux right onto the pad.
- Touch the pre-tinned iron tip to the pad for one second, then feed in a tiny bit of solder. It should spread across the pad almost instantly.
- Pull the iron away the moment the pad wets out. Now you’ve got a clean, solder-coated pad that barely needs any more heat to finish the job.
Since the pad is already tinned, that final connection takes under a second, which is way less total heat exposure than trying to fuse a bare pad and a bare wire together from scratch.
Step 5: Make the Joint with Minimal Heat
- Hold the motor wire in position over the tinned pad using tweezers.
- Add just a touch more flux at the junction.
- Touch the iron tip briefly to the top of the wire, not the pad itself. Heat travels down through the pre-tinned wire and into the pad.
- Pull away the second the two solder pools merge into one shiny fillet, usually under a second.
- Keep the wire steady for 2-3 seconds while the joint sets. Move it now and you risk tearing the pad right off.
Step 6: Inspect and Stress-Relieve
- Look it over. A good joint is shiny, smooth, with the wire lying flat against the board. Dull, grainy, or balled-up solder means a cold joint, and it will fail eventually.
- Add strain relief. A small dab of hot glue, silicone, or E6000 over the wire-to-pad junction keeps vibration and crash impacts from tugging on the joint. Route the wires with a bit of slack, never taut.
- Clean up the flux. Wipe residue away with isopropyl alcohol so it doesn’t corrode anything later. Keeps the board looking tidy too.
What to Do If You Do Lift a Pad (Recovery, Not Panic)
It happens to everyone eventually. The good news: a lifted pad is often still fixable.
- Find the trace. Every pad connects to a copper trace you can usually see. Gently scrape the solder mask off a short section of it using a fiberglass pen or hobby knife.
- Solder directly to the trace. Tin the exposed section, solder your motor wire there instead, then anchor it with hot glue for security.
- Look for an alternate point. A lot of motors have a backup connection point on the ESC, like a gate pin or a nearby capacitor leg, that you can bridge to instead.
- Double-check polarity before you power anything up. Cross the wires and you can fry the ESC in an instant, no warning.
Common Mistakes to Avoid
- Cranking the heat “just to be safe” rather than trusting flux and pre-tinning to do the work.
- Using thick plumbing solder, or lead-free solder with a high melting point (both fight against you here).
- Pulling wires taut, which basically turns every future crash into a lever that rips the pad off.
- Skipping flux. At this scale, it’s not optional, full stop.
- Reworking the same joint over and over. If it’s not right the first couple tries, wick it clean and start over rather than dumping more heat into it.
Conclusion
Soldering Tiny Whoop motors without lifting a pad really comes down to one formula: controlled heat, plenty of flux, pre-tinned pads and wires, and as little dwell time as possible. Keep your iron between 320-350°C, tin both surfaces before making the final connection, and add strain relief once you’re done. Do that consistently and you can repair or swap motors with confidence, no more turning a five-minute job into a dead flight controller. Practice the one-second joint on a scrap board first if you’re nervous. Once it clicks, your whoop will be back in the air in minutes instead of sitting on a shelf waiting for a replacement part.