Best Beginner Camera Settings for Filming a Snowy Forest
Why Snow Scenes Trick Your Camera
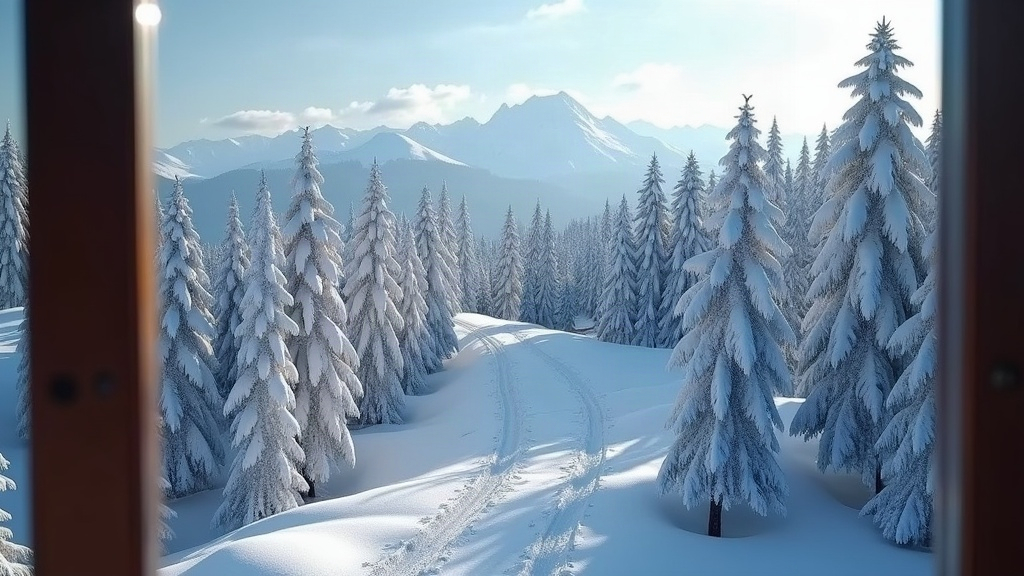
Point a camera at a snowy forest and something strange happens. The meter sees all that brightness and panics, trying to drag it back down to what it considers “normal.” That normal is 18% gray, the same tone your camera uses to calibrate exposure for everything from a beach at noon to a dim living room. Snow reflects way more light than 18% gray ever could, so the camera compensates by underexposing. The result: your crisp white wonderland turns into a flat, dingy gray mess on screen. Once you understand this quirk, fixing it is almost mechanical.
Exposure Compensation: Your Best Friend
If there’s one dial worth learning on your camera, it’s exposure compensation.
- Push it to +1 to +1.5 EV above whatever the meter recommends. Don’t be shy about it.
- Shooting manual? Watch your histogram instead of guessing. You want that data stacked toward the right edge, but not slammed against it. Clip the highlights and you lose all texture in the snow, just white nothing.
- Skip full auto mode entirely. Switch to Aperture Priority (A/Av) or go full Manual (M) so you’re the one deciding how much brighter the scene needs to be, not the camera’s best guess.
Recommended Starting Settings
Standing on that balcony with the forest stretched out in front of you, here’s where to start. Treat these as a baseline, then nudge things based on what your histogram tells you.
- ISO: 100–200. There’s no shortage of light bouncing off all that snow, so there’s zero reason to push ISO higher and introduce noise you don’t need.
- Aperture: f/5.6–f/8. This gives enough depth of field to keep the railing in front of you and the tree line in the distance both reasonably sharp.
- Shutter speed (video): Stick to the 180-degree rule, meaning double your frame rate. Shooting 24fps? Set 1/50s. At 30fps, go with 1/60s.
- White Balance: Dial in “Cloudy” mode, or go manual around 6500K–7000K. Auto white balance has a habit of reading snow as blue-gray, which looks cold and lifeless. Warming it up slightly brings back that clean, natural white.
Handling Changing Light Conditions
Mountain weather doesn’t sit still. One minute it’s overcast, the next the sun breaks through and suddenly every snowbank is throwing glare directly into your lens.
- A polarizing filter cuts that glare and deepens the sky, which makes the white snow stand out even more by contrast.
- Shooting handheld? A lens hood will block some of the stray light reflecting up off the snow below your balcony, light you might not even notice until you check the footage later.
- Recheck your exposure every few minutes if clouds are moving fast. Settings that looked perfect at 9 a.m. can blow out your highlights completely by noon. It happens more often than people expect.
Framing From the Balcony
- Brace yourself against the railing, or set up a compact tripod if you have one. Cold hands and gusty wind are a bad combination for steady footage.
- Give the shot some depth by including something in the foreground: a snow-dusted railing, a steaming mug of cocoa, maybe a pine branch hanging into frame. Without that, the forest can read as flat and distant.
- Apply the rule of thirds. Let the horizon, the line where forest meets sky, sit along the upper or lower third of the frame rather than slicing the image dead center.
Protecting Your Gear in Cold Weather
- Batteries die fast in freezing air. Keep a spare tucked in an inside jacket pocket where your body heat keeps it usable.
- Resist the urge to rush your camera from the cold balcony straight into a warm lodge. Let it acclimate slowly inside a closed bag first. Skip this step and you’ll likely find condensation fogging up your lens or, worse, your sensor.
- Check your lens glass often. Breath fog and stray snowflakes can spot it in seconds without you noticing through the viewfinder.
Quick Settings Cheat Sheet
| Setting | Recommended Value |
|---|---|
| ISO | 100–200 |
| Aperture | f/5.6–f/8 |
| Shutter Speed | 1/50–1/60s (video) |
| Exposure Compensation | +1 to +1.5 EV |
| White Balance | Cloudy / ~6500K |
| Filter | Polarizer (optional) |
Final Thoughts
At its core, filming a snowy forest from a lodge balcony is a battle against your camera’s instinct to underexpose. Push your exposure compensation up, warm up your white balance, keep ISO low, and brace your shot against a railing or tripod. Get those four things right and you’ll walk away with footage that actually matches what you saw standing there in the cold, not some washed-out gray approximation of it.