Photographing Ice Fishing Huts on a Frozen Lake from a Safe Altitude
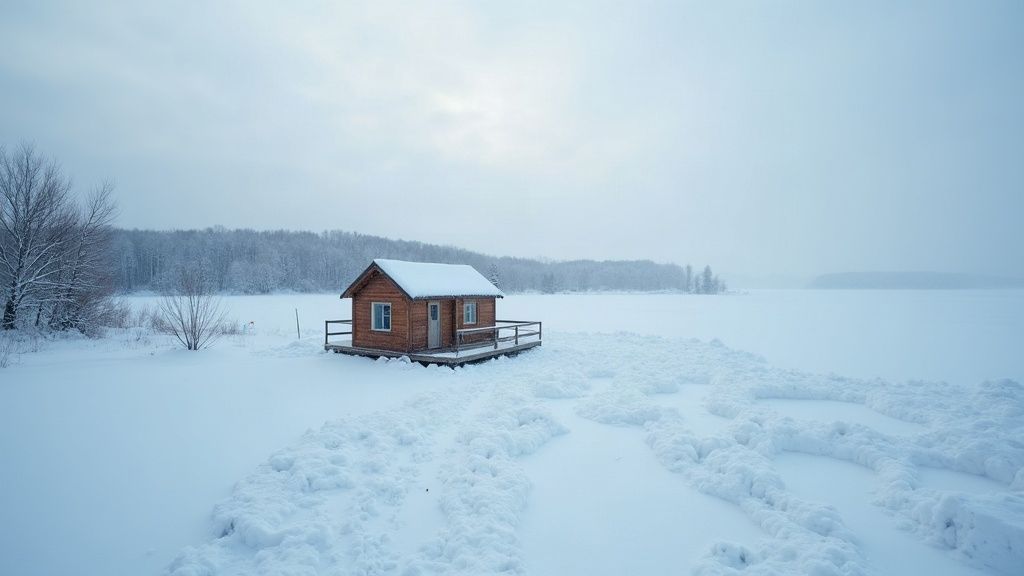
Photographing ice fishing huts scattered across a frozen lake from above gives you some of the most striking winter shots you can get. Tiny, colorful shacks dotting a vast white expanse, long shadows stretching across the ice, fractal cracks running underneath like veins. Getting these images safely comes down to three things: flying at the right altitude, understanding the real risks ice and weather pose, and dialing in your camera for scenes dominated by snow glare. Here’s how to pull it off without putting yourself, your gear, or anyone fishing below at risk.
Why Altitude Matters More in Winter
Summer aerial work is forgiving. Winter isn’t. Frozen lakes bring their own set of hazards: ice thickness that can vary by the foot within a few yards, wind gusts that build unexpectedly over open, exposed expanses, and glare bouncing off snow that can throw off both your eyes and your camera’s metering.
- 100-150 feet (30-45m) is usually the sweet spot for individual huts. Close enough to show detail, wide enough to capture the ice texture around them, including skating trails or truck tracks cutting across the surface.
- 200-300 feet (60-90m) suits an entire “ice village,” those informal clusters of huts that pop up every winter on popular lakes. At this height you get the scale and the pattern of the whole layout.
- Don’t fly directly over people or vehicles, even from altitude. FAA Part 107 and Transport Canada rules both call for avoiding unnecessary overflight of people, and honestly, anglers sitting in a hut for six hours straight deserve that courtesy anyway.
Check local drone regulations before you head out. Plenty of frozen lakes sit closer to airports or protected land than you’d expect, and restricted airspace doesn’t care how good the light looks that morning.
Assessing Ice and Launch Site Safety First
You don’t need to walk onto the ice to get the shot. Most of the time, you shouldn’t.
- Launch from shore whenever you can. Solid ground means no prop wash kicking snow into your lens, and a secure, predictable spot to bring the drone back down.
- If shore isn’t an option and you have to launch from the ice, check thickness first. Ask at a local bait shop, check with a ranger station, or look for posted signage. Four inches of clear, solid ice is the commonly cited minimum for foot traffic, though that number shifts depending on region, recent temperatures, and how the lake behaves.
- Never assume the ice near a cluster of huts is uniform. Pressure cracks, spring-fed pockets, and underwater currents can thin the ice out in specific spots even when everything around it looks rock solid. A hut sitting there safely for three weeks doesn’t guarantee the patch ten feet away is the same.
- Bring ice cleats. Dress in real layers, not just a heavy coat. Cold fingers fumble controllers, and a dropped drone on ice is a bad afternoon.
Best Times of Day for Lighting
Flat, overcast winter light flattens everything. Snow goes gray, ice goes dull, and the whole image reads lifeless. A few fixes:
- Early morning, sunrise plus 30 to 60 minutes, throws long shadows off the huts that make the composition pop against all that white.
- Late afternoon golden hour adds warm amber tones that sit nicely against the cool blue shadows pooling in the snow.
- Midday sun only works when the sky is heavily overcast and you actually want that even, diffused light for wide establishing shots where glare would otherwise be a problem.
Camera Settings for Snow and Ice Scenes
Snow fools auto-exposure almost every time. Your camera sees all that brightness and compensates by underexposing, and suddenly your white ice looks like dirty gray slush.
- Dial in exposure compensation around +0.7 to +1.3 EV to keep the snow looking bright and true to life.
- Shoot in RAW. You’ll want that extra latitude to pull back highlight and shadow detail later.
- If your drone supports filter mounts, a polarizing filter cuts glare off the ice and deepens the sky’s color noticeably.
- Keep ISO low, 100 to 200 range. Bright snow scenes almost never call for higher sensitivity, and pushing ISO just adds noise you don’t need.
Composition Tips for Ice Fishing Huts
- Rule of thirds with scattered huts. Push clusters off-center rather than centering everything in a flat grid; it reads more natural and balanced.
- Leading lines. Truck tracks, snowmobile trails, shoveled footpaths, all of these pull the viewer’s eye toward the huts without you having to say a word.
- Shadow play. Shoot when shadows stretch long across the ice. It’s the single easiest way to add depth to a surface that’s otherwise completely flat.
- Color contrast. Huts painted red, blue, or yellow against pure white ice are instant focal points. Frame wide enough that the color has room to breathe.
Battery and Cold-Weather Drone Care
Cold eats lithium batteries alive. You can lose 30-40% of your normal flight time just from temperature alone, no other factor involved.
- Keep spare batteries tucked in an inside jacket pocket, close to your body, until right before you swap them in.
- Run a quick hover test at low altitude before committing to a longer flight. Check for any lag or responsiveness issues before you’re 200 feet up over ice.
- Land with at least 30% battery still in reserve. Cold weather causes sudden, unpredictable power drops more often than you’d think, and that margin is cheap insurance.
Conclusion
Getting great aerial shots of ice fishing huts really comes down to two things working together: smart altitude choices and genuine respect for ice and weather conditions. Launch from shore whenever you can. Fly somewhere between 100 and 300 feet depending on whether you’re framing one hut or an entire village. Shoot during golden hour if you want those dramatic shadows. And never let the shot matter more than the safety call. Get that balance right, and you’ll walk away with images worth printing, plus a drone (and a pilot) that’s still in one piece.