How to Photograph Lavender Fields at Golden Hour with DJI Mini 4 Pro
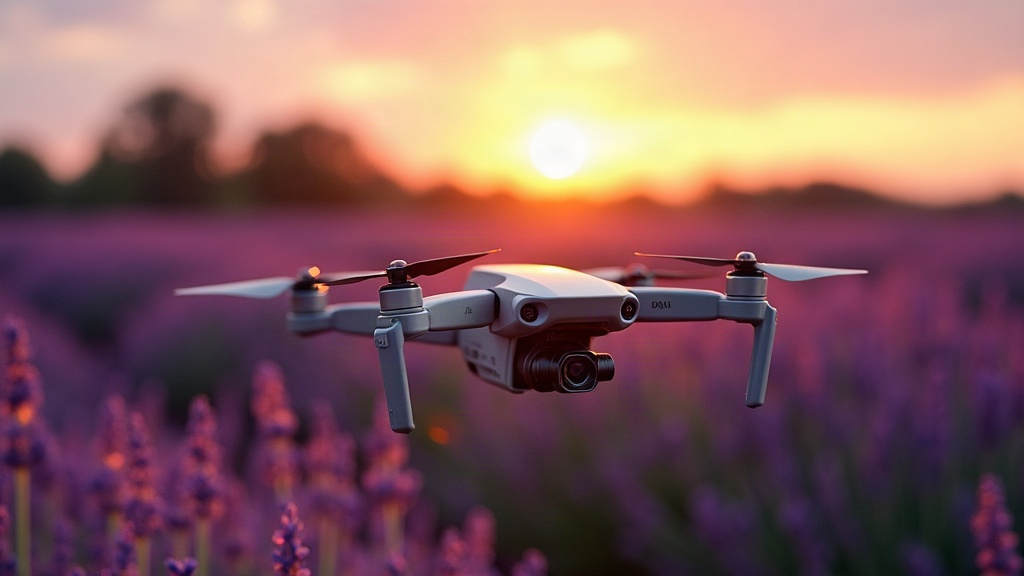
Lavender fields turn into something close to magic during golden hour, and the DJI Mini 4 Pro happens to be the perfect lightweight tool for capturing that from above. Here’s exactly what camera settings, flight techniques, and timing to use so you come home with those postcard-worthy shots of purple rows glowing under warm evening light.
Why Golden Hour Matters for Lavender
Under harsh midday sun, lavender’s deep purple can look flat, almost muddy. Golden hour, those 45 to 60 minutes before sunset (or right after sunrise), softens the shadows and wraps everything in a warm rim light that makes each row pop with contrast and texture. There’s a bonus too: the low sun angle throws long shadows between the rows, giving your aerial shots a three-dimensional, almost sculptural quality you just don’t get at noon.
Best Time to Shoot
- Evening golden hour tends to be the safer bet for lavender fields. Morning dew often leaves a hazy shimmer that washes out color saturation, so you lose punch right when you need it most.
- Check the sunset time and get there 90 minutes early. Use that window to scout the field, test a few compositions, and calibrate your drone before the light turns critical.
- Don’t write off overcast evenings either. Diffused light right before sunset can actually work beautifully, cutting harsh highlights and saturating the purple tones more evenly across the whole field.
Recommended DJI Mini 4 Pro Camera Settings
The Mini 4 Pro’s 1/1.3-inch sensor and f/1.7 aperture already handle low-light golden hour conditions pretty well. Still, manual control is where the real results come from:
- Mode: Shoot in Pro mode. Skip Auto entirely.
- ISO: Keep it low, ISO 100-200 during golden hour. Only bump to ISO 400 if the light is dropping fast and you’re racing the clock.
- Shutter speed: Stick to the 1/frame-rate rule (so 1/60s at 30fps) to keep stills free of motion blur.
- White balance: Set it manually, somewhere around 5200-5600K, to hold onto the warm tones without over-correcting into muddy purples.
- Format: Shoot RAW (DNG) for photos. It gives you room to fine-tune color and exposure later without banding creeping in.
- D-Log M or HLG: Use one of these for video so you keep highlight and shadow detail intact in that high-contrast golden light.
Flight Patterns That Work Best
- Low oblique passes (15-30m altitude): Fly parallel to the rows at a slight angle. This emphasizes the leading lines the rows naturally create.
- Top-down (bird’s-eye) shots: Climb to 40-60m and shoot straight down. You’ll pick up patterns, color gradients, even paths or structures hidden in the field from ground level.
- Reverse reveal shot: Start tight on a single lavender stem, as close as you can safely get, then fly backward and upward to reveal the whole field. This one’s made for video, it plays exceptionally well.
- Orbit around a focal point: Got a tree, windmill, or farmhouse somewhere in the field? A slow orbit at 20-30m around it adds scale and visual interest instantly.
Composition Tips
- Stick to the rule of thirds. Push the horizon low in the frame so the lavender rows dominate most of the shot.
- Hunt for converging lines, places where the rows meet a path, a fence, or a building.
- Add a human element, someone walking the rows, just for scale and a bit of story.
- Try both directions relative to the sun. Backlit shots give you that glowing rim effect; front-lit shots pull out maximum color saturation.
Safety and Etiquette Reminders
- Check local drone regulations first. Plenty of lavender farms, especially in Provence or Hokkaido, have specific rules about drones flying over crops.
- Keep your altitude respectful so you’re not disturbing the bees. Pollinators are essential to lavender’s growth cycle, and buzzing a drone too low over them helps no one.
- Ask the farm owners before you fly. Most appreciate the courtesy, and some will even tell you the best times of day to shoot.
Post-Processing Quick Tips
- Push vibrance, not saturation, to keep the purples looking natural instead of neon.
- Pull back the highlights slightly and lift the shadows a touch to balance out that golden hour contrast.
- Add a subtle warm color grade in the highlights and a hint of magenta in the shadows. It enhances that lavender-to-gold gradient nicely.
Conclusion
Photographing lavender fields at golden hour with the DJI Mini 4 Pro really comes down to three things: timing, manual settings, and smart flight patterns. Get there early, shoot in Pro mode with RAW files, try both the low oblique and top-down angles, and always respect the land you’re flying over. Nail those, and you’ll walk away with aerial shots that capture the real glow and grandeur of a lavender field in full bloom.