How to Waterproof a 3-Inch Cinewhoop for Snowy Winter Flights
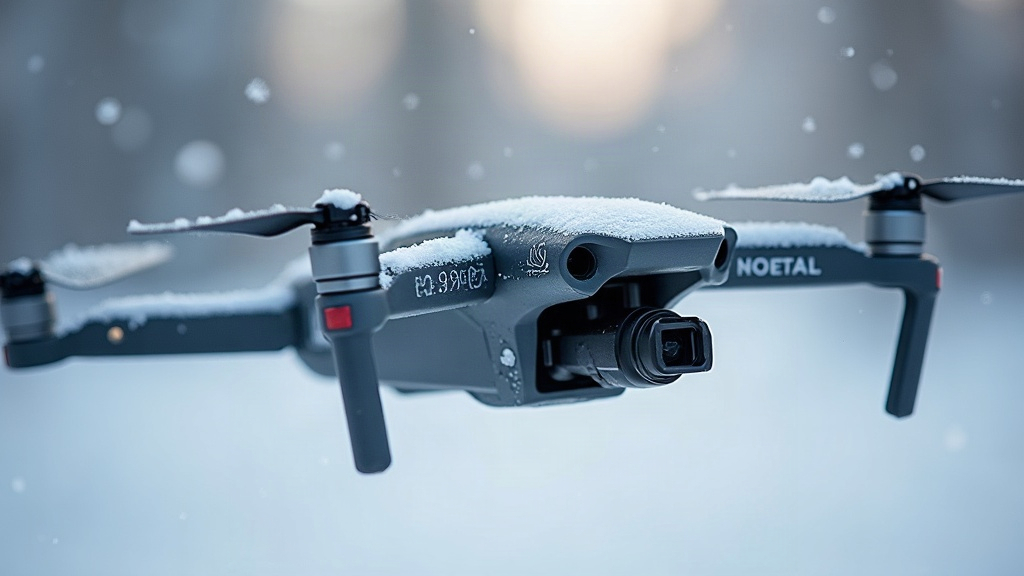
How to Waterproof a 3-Inch Cinewhoop for Snowy Winter Flights
A 3-inch cinewhoop might be the most fun you can have in an FPV setup during winter. The ducted props and tiny frame let you thread cinematic lines through snow-covered parks without worrying much about clipping a branch. But here’s the catch: snow is just water wearing a disguise, and one landing in powder can quietly kill a flight controller, an ESC, or a VTX. The good news is you can waterproof a 3-inch cinewhoop in a single afternoon with a handful of cheap supplies. This guide covers sealing your electronics, protecting the camera and connectors, and managing batteries in freezing temps so your winter flights actually survive until spring.
Why Snow Is Harder on Drones Than Rain
Snow looks harmless, almost soft. It isn’t. It creates two distinct problems. First, fine snow melts the moment it touches warm electronics, turning into liquid water that finds its way into the smallest gaps you didn’t know existed. Second, fresh snow acts like insulation: a buried drone stays warm enough internally to melt a little pocket of water around its components, which speeds up corrosion instead of preventing it. Cinewhoops take this worse than most quads because the ducts and prop guards literally scoop snow up during low passes or rough landings.
The parts most at risk:
- Flight controller (FC) — exposed pads and the USB port short out almost instantly when wet.
- ESC / 4-in-1 board — high-current pads arc and corrode fast, sometimes within a single flight.
- VTX — runs hot, which makes it a magnet for condensation.
- Camera — the sensor and ribbon cable are nearly impossible to dry once snow gets inside.
- Battery connector (XT30/XT60) — melted snow pooling here can bridge the pins and cause a short.
Step 1: Conformal Coating, Your Main Defense
Conformal coating is a thin, clear film (silicone or acrylic) that insulates your electronics from moisture. On a 3-inch cinewhoop, silicone-based coatings (MG Chemicals 422B is a common choice, or any silicone-modified conformal coating) work better than acrylic because they flex with vibration and shrug off wide temperature swings without cracking.
How to apply it properly:
- Disconnect everything and pull the stack out of the frame.
- Mask off what needs to stay bare: the USB port, boot button, barometer if you’ve got one, and any plug-in connectors. Kapton tape or liquid latex both work fine here.
- Brush or spray a thin, even layer over both sides of the FC, ESC, and VTX. Give extra attention to solder pads, chip legs, and the joints where motor wires connect.
- Let it cure fully (about 24 hours for silicone) before you put anything back together.
- Add a second coat on the higher-risk spots, like ESC power pads and battery leads.
One mistake people make constantly: coating before flashing firmware. Flash and configure everything first, since coating can block the boot button and USB port entirely. Need to reflash later? Carefully scrape the coating off the boot pads with a plastic pick, not a metal one, unless you enjoy scratching traces.
Step 2: Seal the Camera and Connectors
The camera is genuinely the trickiest part to waterproof, since the lens and sensor need to stay perfectly clear while the ribbon cable underneath needs to stay bone dry.
- Lens — a hydrophobic coating or a small smear of rain-repellent on the outer element makes snowflakes bead off instead of melting into a smeary film.
- Sensor board — run a thin bead of conformal coating around the sensor’s edge (never on the sensor glass itself) to stop water from wicking along the ribbon.
- Ribbon cable — once it’s seated, seal the connector with a dab of liquid electrical tape or a touch of hot glue.
- VTX antenna — seal the SMA/MMCX joint with self-amalgamating silicone tape or a small heat-shrink boot. Melted snow here tanks your video signal fast, and you’ll notice it mid-flight before you notice it on the bench.
For connectors in general, a small smear of dielectric grease on the XT30/XT60 pins and any JST plugs repels water and keeps corrosion at bay without interfering with the connection at all.
Step 3: Protect the Frame and Openings
Even properly coated electronics do better when snow simply doesn’t get in to begin with.
- Wrap the stack in a light shroud, clear heat-shrink or a printed TPU canopy, while leaving room for airflow. Cinewhoop ducts already contain the stack somewhat, so a simple top plate with a couple of small drain holes goes a long way.
- Point drain holes downward so any water that sneaks in has somewhere to go instead of pooling on the board.
- Add foam or a rubber gasket at wire entry points to slow snow ingress.
- Check prop clearance carefully. A winter canopy that rubs against your 3-inch props adds vibration and eats into your flight time, and you might not notice until the video feed starts to shake.
Step 4: Cold-Weather Battery and Flight Tips
Waterproofing only solves half the problem. Cold LiPos are the other half.
- Keep batteries warm, tucked in an inside jacket pocket until you’re ready to fly. A battery at 20°C performs noticeably better than one sitting at 0°C, and the difference shows up immediately in punch-outs.
- Expect 20 to 40 percent less flight time in freezing weather. Voltage sags earlier than you’d expect, so land sooner than your usual timer tells you to.
- Never charge a cold battery. Let it warm up to room temperature first. Skip this and you risk permanent cell damage, or worse, a fire.
- Do a short test hover after any snow contact before pushing into a full pass. If anything twitches or the video flickers even slightly, land and dry the drone right away instead of hoping it’s nothing.
What to Do After a Snowy Flight
What you do in the ten minutes after landing decides whether your cinewhoop makes it through the season.
- Shake and blow off loose snow immediately, before it has a chance to melt.
- Dry with compressed air or a hairdryer on low heat, focusing on the stack, the USB port, and the camera.
- Store the drone overnight with a desiccant pack in a sealed bag or container to pull out any trapped moisture you couldn’t see.
- Inspect solder joints for white corrosion. It shows up as a chalky, powdery residue and needs a cleanup with isopropyl alcohol before it spreads.
Conclusion
Waterproofing a 3-inch cinewhoop for snowy flights really comes down to three layers: proper conformal coating on every board, a sealed camera and connectors, and smart battery habits in the cold. Spend one afternoon on the coating, and you’ll trade the dread of a snow landing for the confidence to fly powder-covered gaps all season long. Stick to the post-flight drying routine every single time, and come spring, your cinewhoop will be back in the air where it belongs, not sitting on the repair bench.